

I was nosing about in a thrift store when I came across this wonderful book. The moment I saw it sitting there in all of it’s orangey goodness I knew that I had to make something with it. The fact that the book was in a free bin was also a deciding factor.


To begin with, I was being a bit overly literal, which is fine, sketchbooks exist to get stuff like this out of your system. I’d like to come back to this idea at some stage. An e-book reader in a book could be fun too.
In retrospect it would work better with an E-Paper screen instead of 8 segment leds.

I like the idea of a book abacus even more to be honest, I probably will come back to this idea of embedding objects into books when I have some spare time.
First I need to figure out how to actually make one of these things. There’s a few things which make cutting into a book something of a pain in the tail end. I have made a couple of them in the past, and there’s a bunch of traps for the unwary.

If you have ever drilled paper you’ll know that the results typically aren’t clean, unless the paper is compressed (for instance clamped between two boards) the hole will be ragged and the paper will bunch up and no longer lie flat. To avoid this I’m making a tube drill – this is basically a metal tube with one end sharpened to cut through the paper.
I’m starting making the paper drill with a bullet casing. This has been fired and is just a chunk of brass – don’t screw about with live ammo – fingers are useful tools to hang on to.

The reason for using a fired bullet casing is because it has a solid base – thus it can be chucked up in a drill without deforming the tube. I’ll be filing a chamfer into the inside (mouth) of the tube to act as the cutting edge – the outside of the tube needs to have parallel edges to work properly.
Paper disks will accumulate in the tube and will periodically need to be pushed out with a wire from the back.
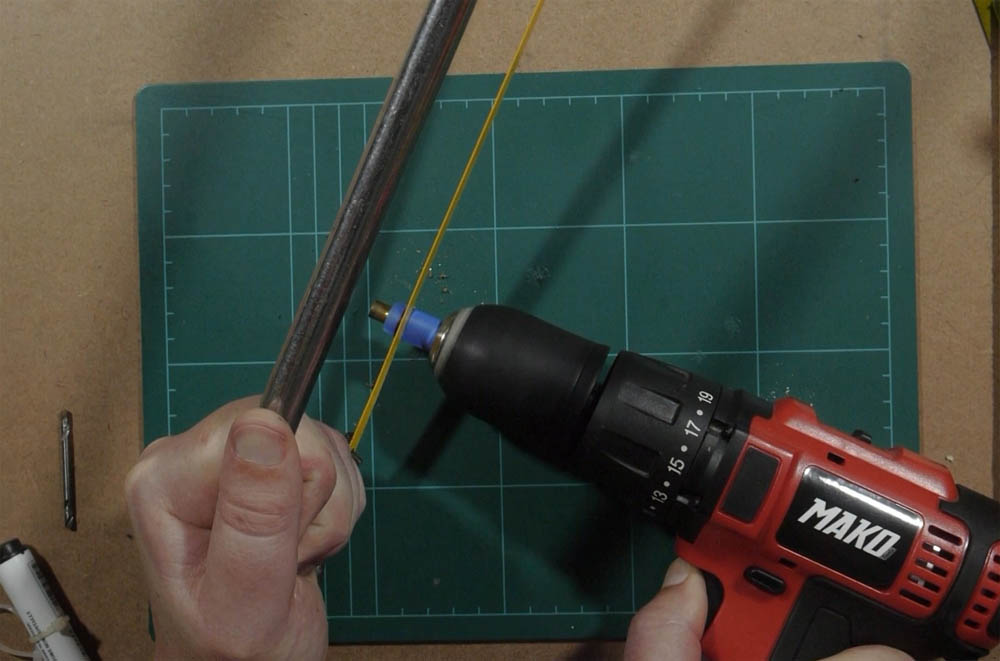
So I chucked up the cartridge, wrapped it in painters tape and then held a hacksaw to it as I spun the drill – the tape keeps the blade from slipping about, and spinning it in the drill makes for a square cut. Mako is a very cheap tool brand in New Zealand incidentally – they don’t sponsor people.

I’m just polishing the outside of the tube to remove any burrs. I don’t want to remove material. if the tube isn’t parallel it will jam up in the hole as I drill.

Here I’ve drilled out the primer and I’m yanking it with pliers – this will allow me to poke a wire through the case to push out the paper which will stick in there.
I probably don’t need to even say this for regular people, but if you are going to do this the cartridge must be already fired and inert. Cos splodey no-fingers go boom boom is bad bad.

Here I’m using some sandpaper on a stick to file a chamfer into the mouth of the tube. This is the cutting edge. If I were using steel which can be hardened I’d propably skip the chamfer and cut notches so the mouth would act like a saw as it spun – I’m not and I didn’t.

Now I’m making a guide which will act as a pilot hole. – This is just cut from mat board.

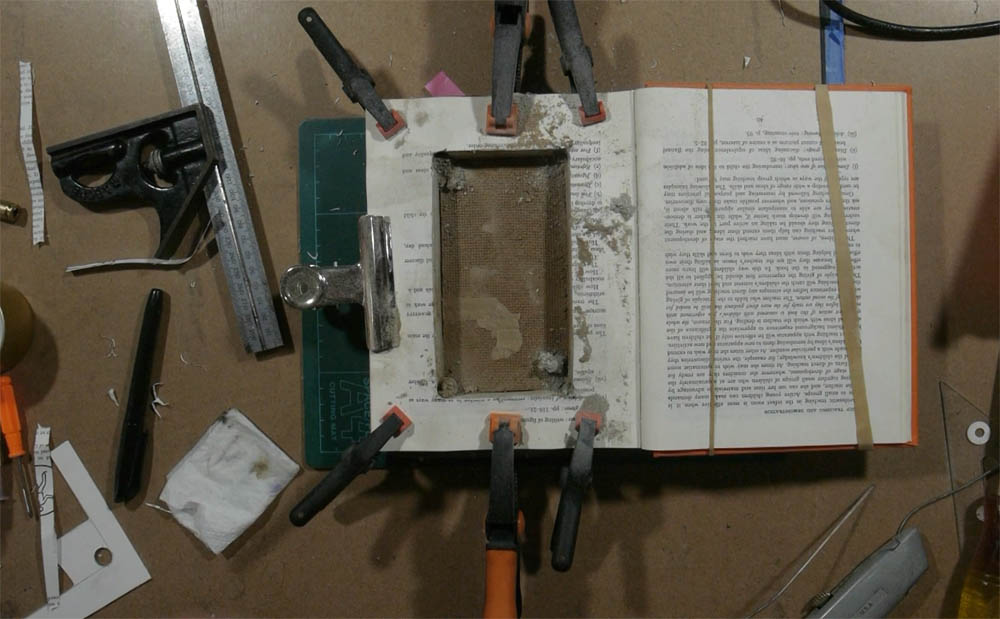
The guide is prepared – now I’m opening the book to clamp a board behind the pages I want to drill.

A board is clamped under the pages and I’m using rubber bands to keep the covers and pages which won’t be drill out of the way. I have cut out a piece of grid paper the size of what I want to cut out and it’s being held in place with post-it note sticky tape (super useful stuff incidentally).

The guide is clamped in place for drilling – the straight edges are lined up with the grid paper. I’m only using this to line up the drill hole for the first 10-20 pages of drilling.

You can see above that I have partly drilled the holes with the guide in place before removing it. I am wiping the drill bit with a wet rag as it becomes very hot while drilling – It does theoretically work soften, but in practice it’s not a problem for this task.
I have to stop, cool it down, remove it and poke out page disks with a wire quite a few times – it’s not a quick process.
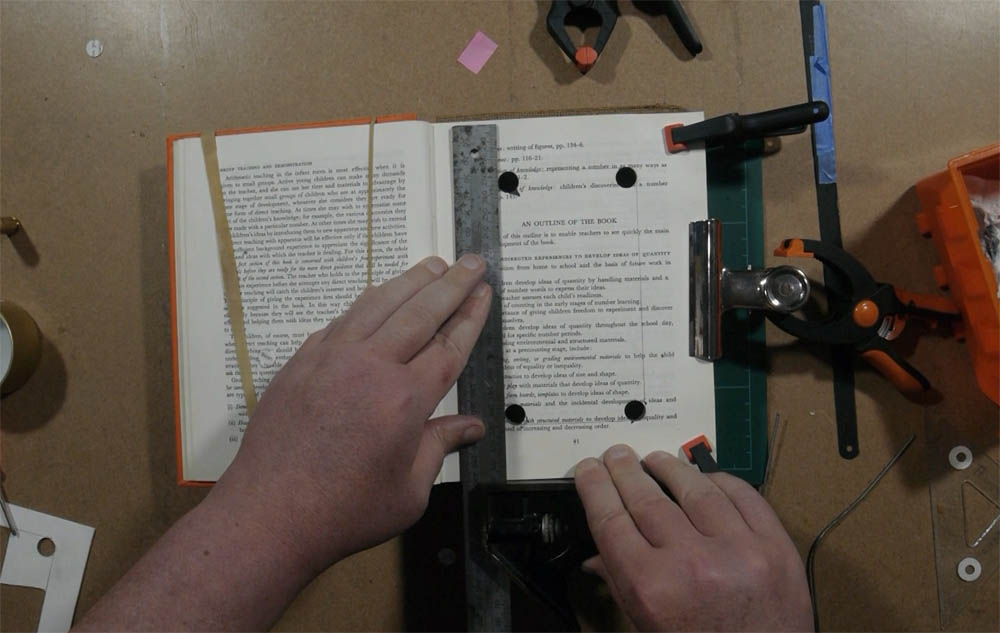
Once I’ve drilled all the way through, I clamp a metal cutting guide in place.
This is where I start experimenting with more gooder ways to cut up books.
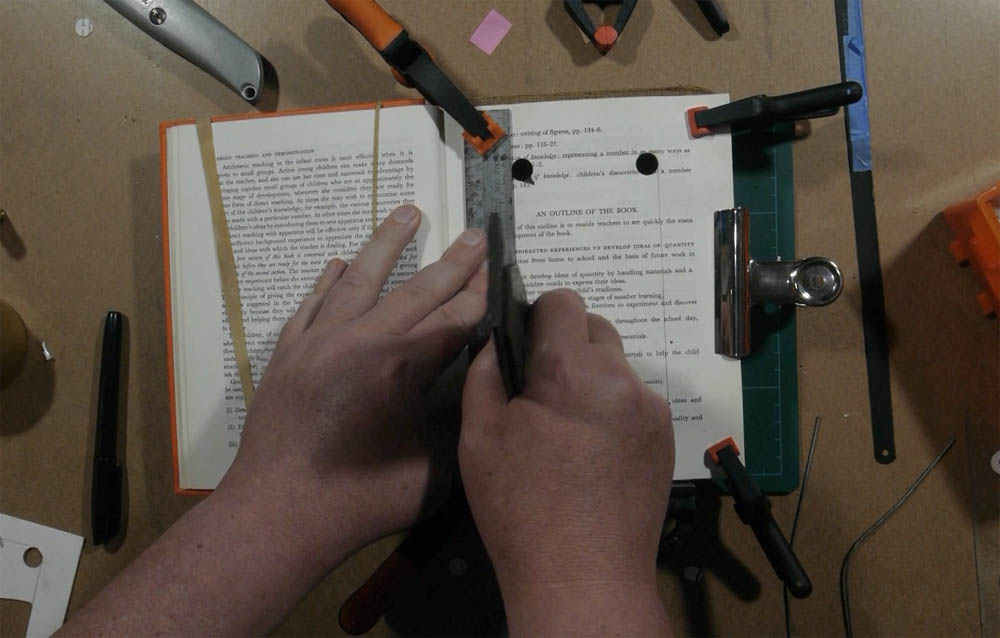
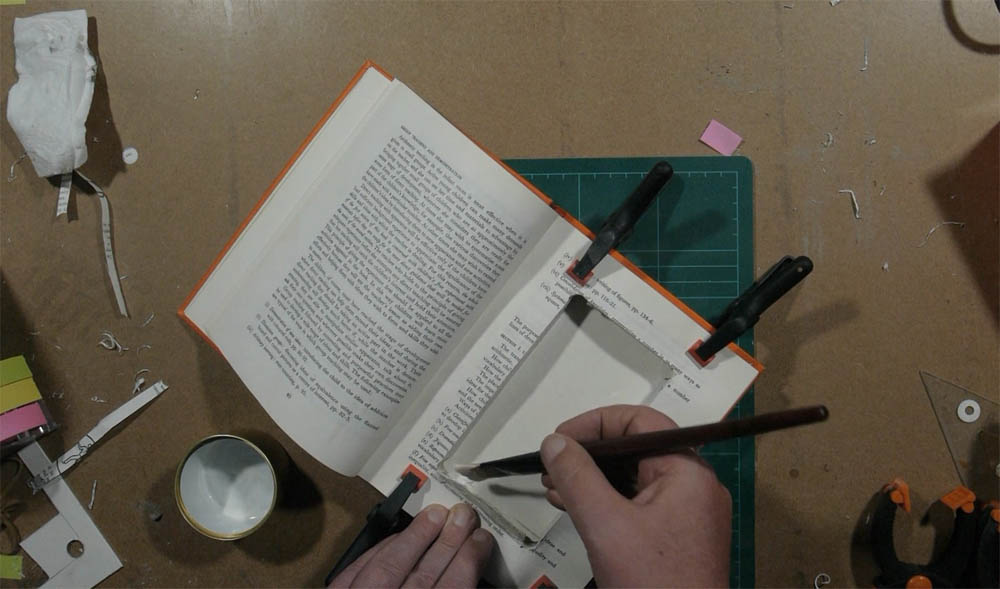
In this shot I’m using a plane blade to make cuts – I’m trying to see how vertically I can cut.

In this shot I’ve moved to a box cutter and I’m cutting X’s to remove paper as I go.
You might wonder why I wouldn’t use an Xacto or a scalpel, and that is the best idea if you are just going through a few sheets of paper – in practice the blade is just too short to cut to any depth, they also don’t track well at depth.
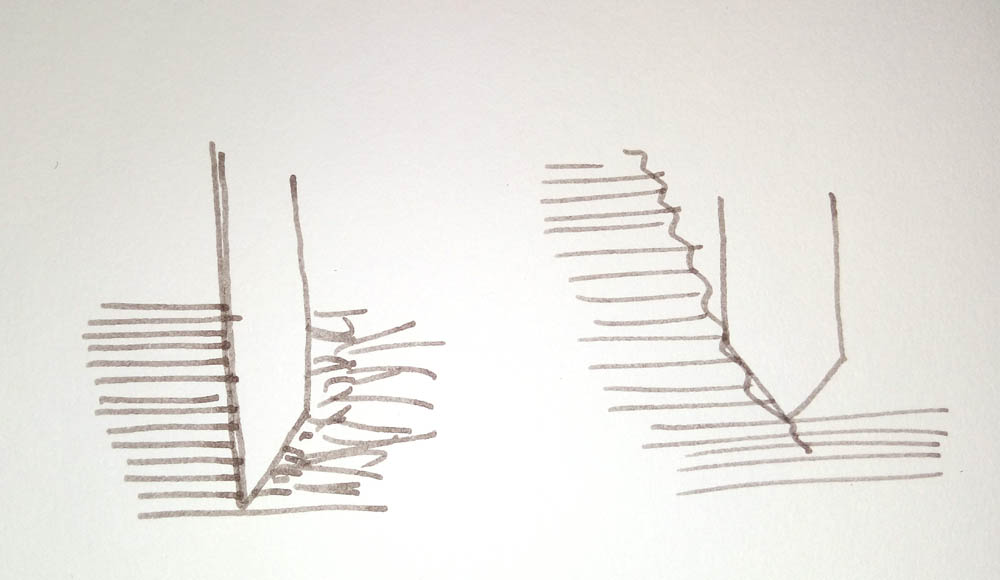
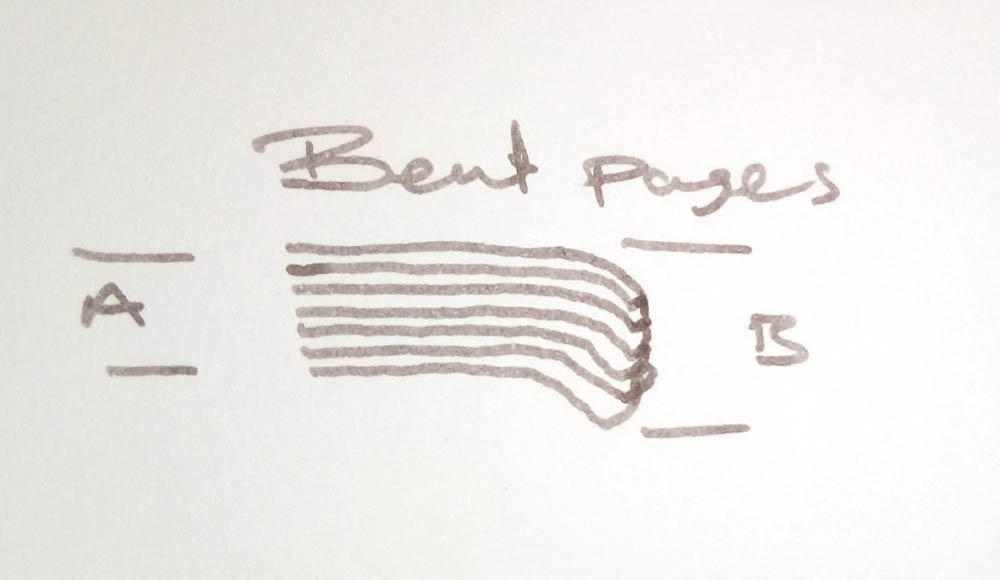
I was trying to use a blade shaped like the one on the left – I wanted a fairly vertical cut. A regular knife like an Xacto is sharpened from both sides, so when making very deep cuts the shoulder will push the cut away from being vertical.
I basically wanted all the work to happen precisely on the tip – the beveled edge of an Xacto actually begins to do work and pushes the cut away from vertical. Holding the knife off vertical to compensate for this effect means you lose the help from the guide.
When cutting books out commercially the normal method of trimming is to use a guillotine – this only works well as the excess is pushed away and discarded.
This method (guillotine) doesn’t work for internal cuts as there is nowhere for the offcut paper to go, thus it all bunched up and squishes. Stamping is theoretically possible, as are water and laser cutting, even milling – but these really aren’t practical solutions for trimming up a book in a home studio.

Using a rough cutting tool causes the paper to get mangled and to stick in the gaps – thus the book will wind up being thicker on edge next to the cut.

The longer edge is always going to do more work when both edges are in play – this is why a blade like this will curve the cut when cutting straight into an evenly supported matrix. On the other hand, if the task is trimming off an unsupported edge (as is the case in trimming out pages) then a blade with a parallel profile (the edge shape of an Xacto) then only half the blade shoulder will be doing work – which will look like the shape above.

Then I gave up on all of that palava and got into it with a vibratory saw tool, which worked astonishingly well (incidentally the blade is the non-parallel shape described above.)
Bing Bang Boom, I cut a thing.
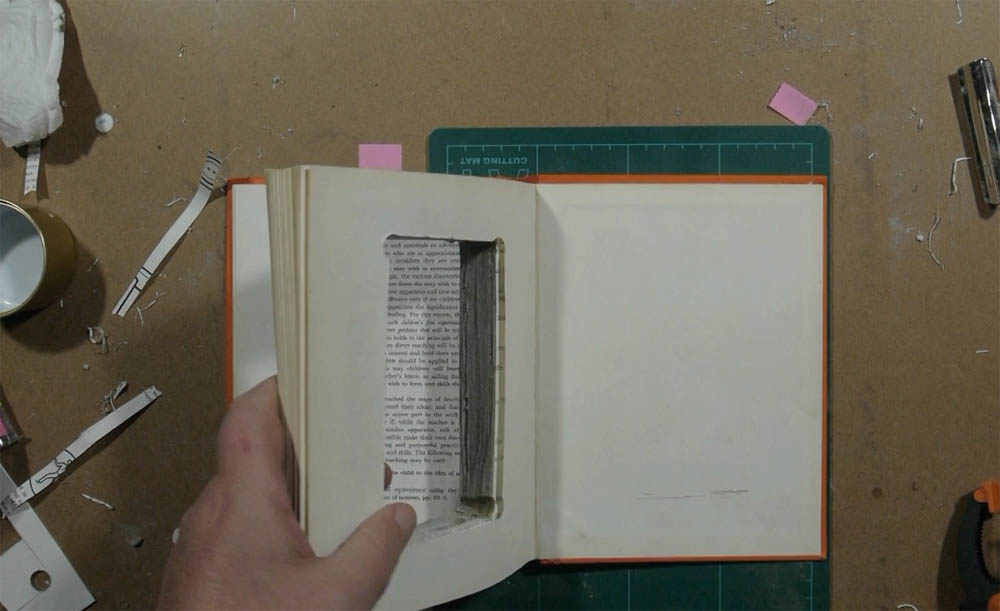
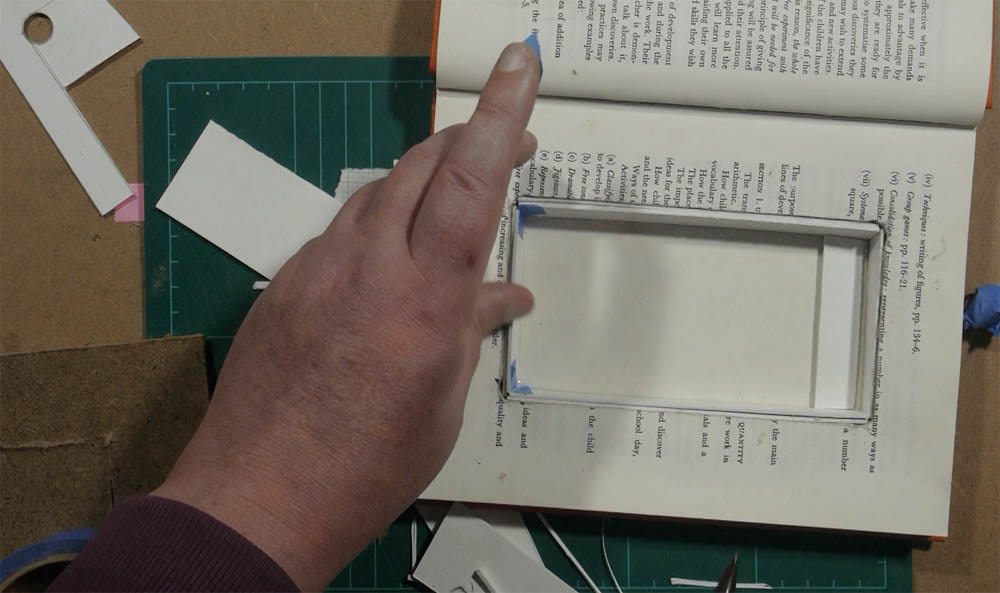
A little bit of clean up later and the cuts were about as clean as they were going to get.
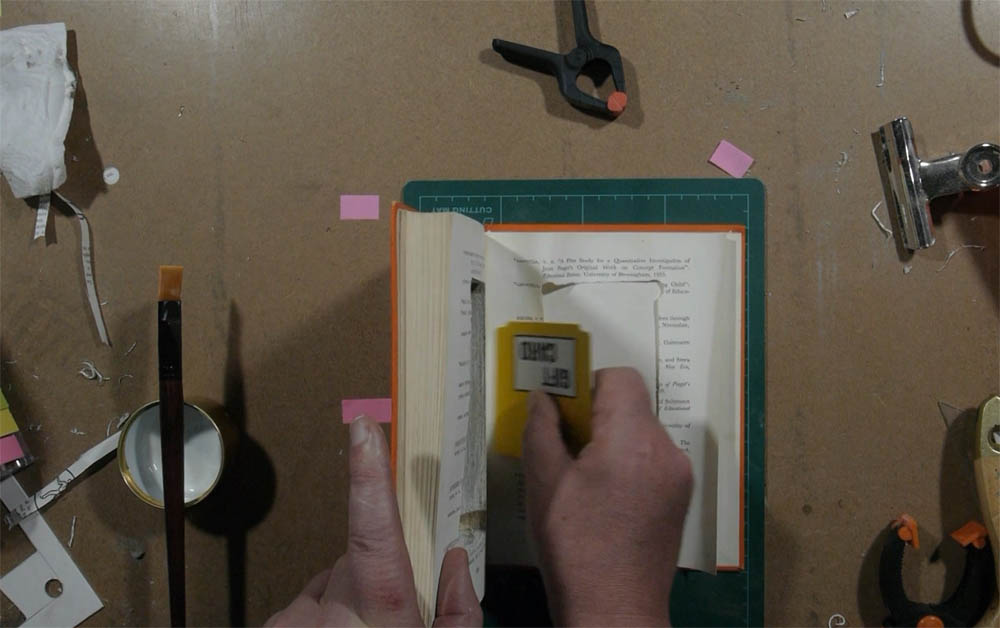
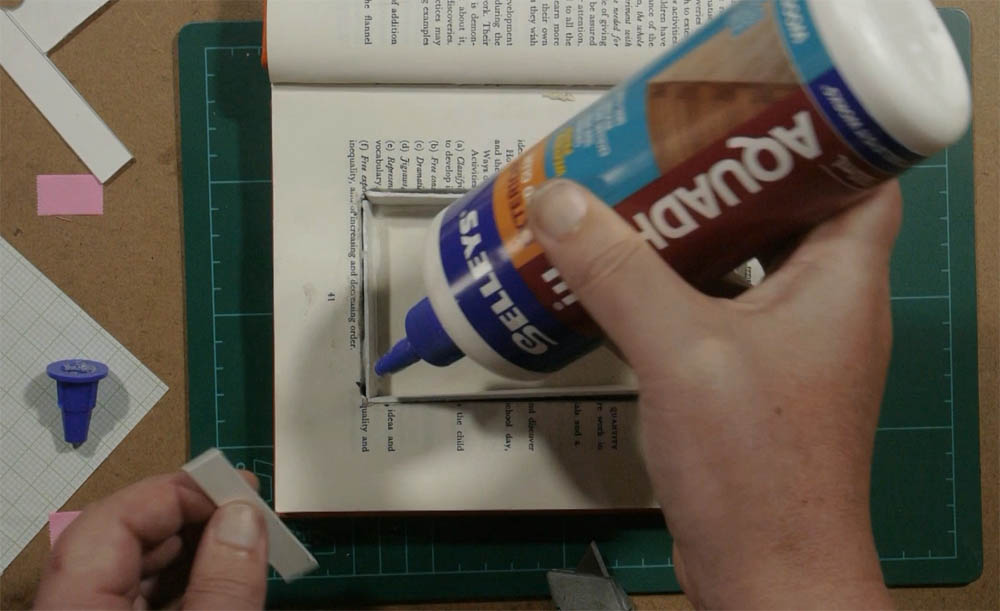
I wanted the edges to look natural, so I decided to only glue the inside of the cut – here I’m gluing the final page down to the rear cover.
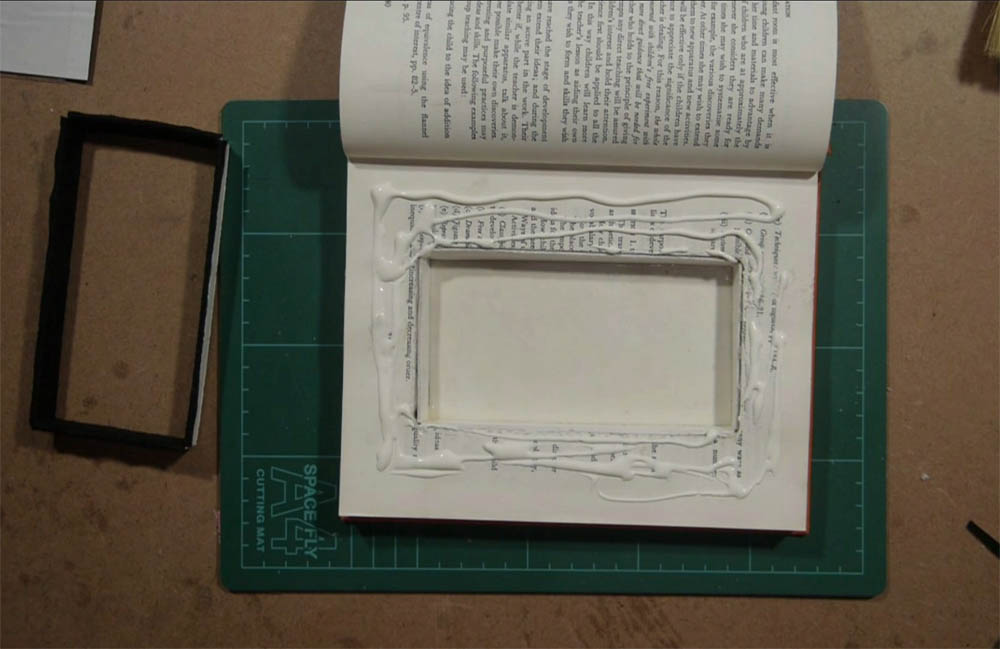
then I liberally glued the inside edges before clamping it shut with wax paper protecting the free pages from glue.
Then I clamped it between some drawers and left that conglomeration as a trip hazard in my studio for a few days. The G-clamps aren’t shown here, the drawers were just good sized chunks of wood for this usage. Why use tools when you can use furniture.
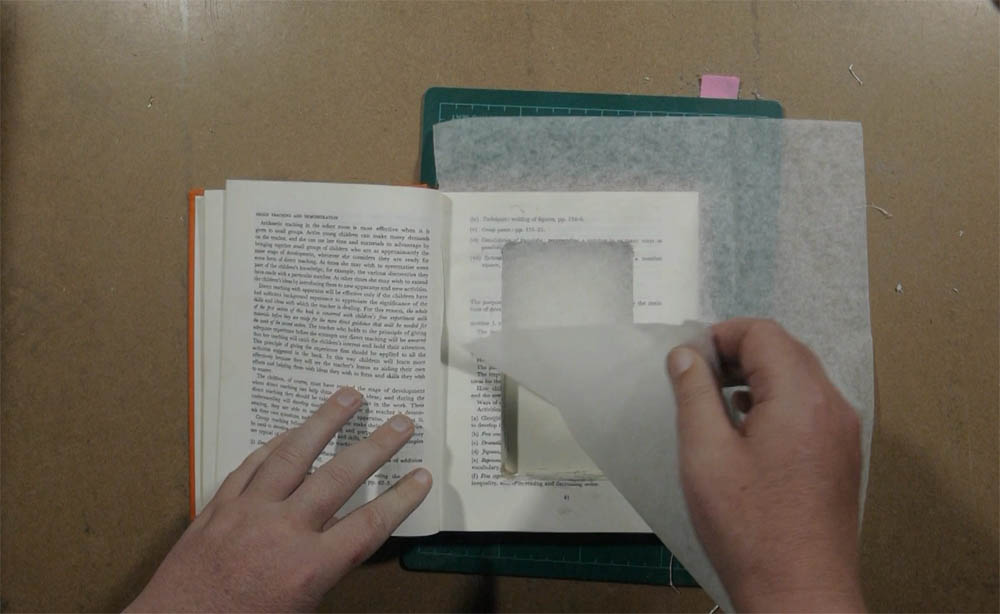
Peeling off the wax paper once the glue had all set. When I mentioned liberal gluing I meant two days dry time sort of liberal.
I then glued in some mat board into the cavity to shore it up even more. This glue is a clear drying water based wood glue. It’s cheap and it works pretty well for wood & paper.

This was then held in place with painters tape till it was dry. This particular painters tape is made of something like wax paper, thus it doesn’t stick to glue which has dried.
Then I made another mat board frame, however this one doesn’t get glued in. It’s going to be lined with stick-on felt.

Applying the stick-on felt – To do this I apply contact glue to the mat board frame, spread it out thinly and let it dry. Then I apply the stick-on felt. This trick of applying contact glue to the place where an adhesive thing is going to go has the effect of making most adhesives permanent.

A wee bit of black sharpie makes the gaps invisible – these will be underneath so they should be invisible, but it only takes a few seconds to do, so why not do it properly.
So now I’m going to glue down the next page to tidy up the edges – this, by the way, is what I mean by gluing liberally.

I smooth it down to hide any lumps and bumps.

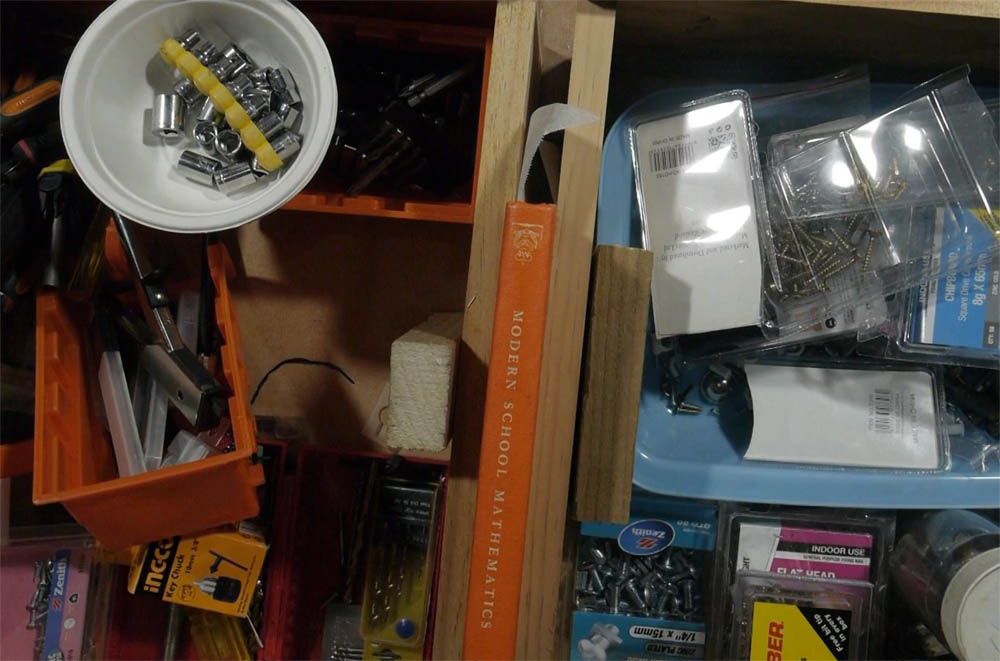
Wax paper again – then it was left under a stack of science books for a week or so for the glue to set up.

I’ve used post-it-note tape to mark the boundaries of the cavity underneath and now I’m trimming the excess down with a razor blade so I can fold it in.

Gluing down the page edges into the cavity – now we don’t have to look at the mat board arrangement any more.

I’ve applied contact glue into the bottom of the cavity and applied the felt – here I’m trimming the excess away.

The reason I’m using a syringe to apply the glue is to make sure that I don’t get any drops or spillage. I don’t need to use much glue here to make a permanent bond, just a couple of beads on each surface.

and applying a bead (line of glue) to the other part and I put them together to set.
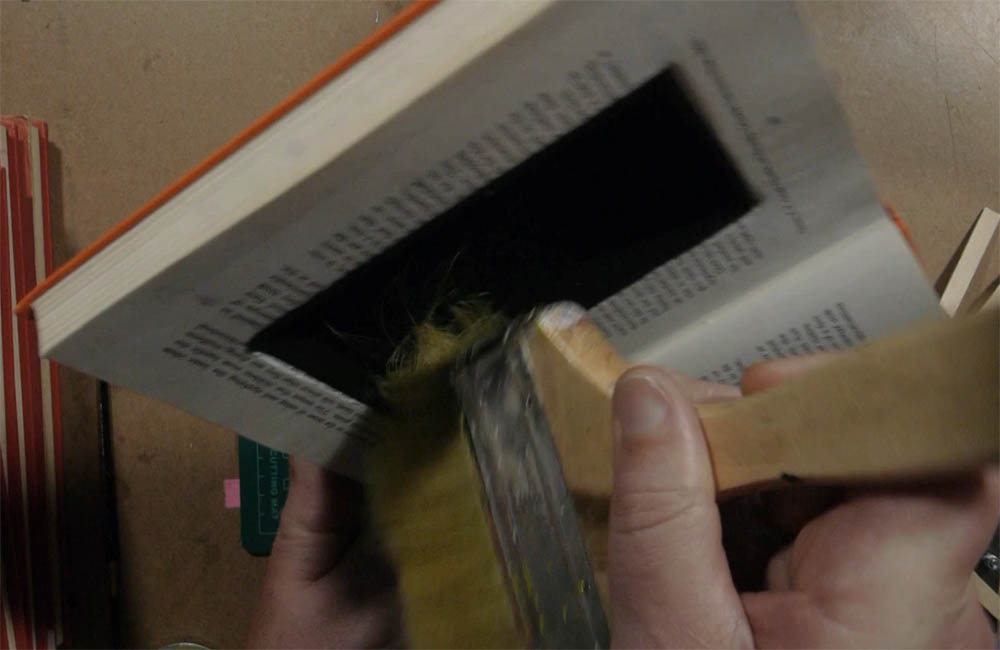
Then I brushed out any dust and went over any marks with a crepe eraser, generally tidied up the nearly invisible stuff.
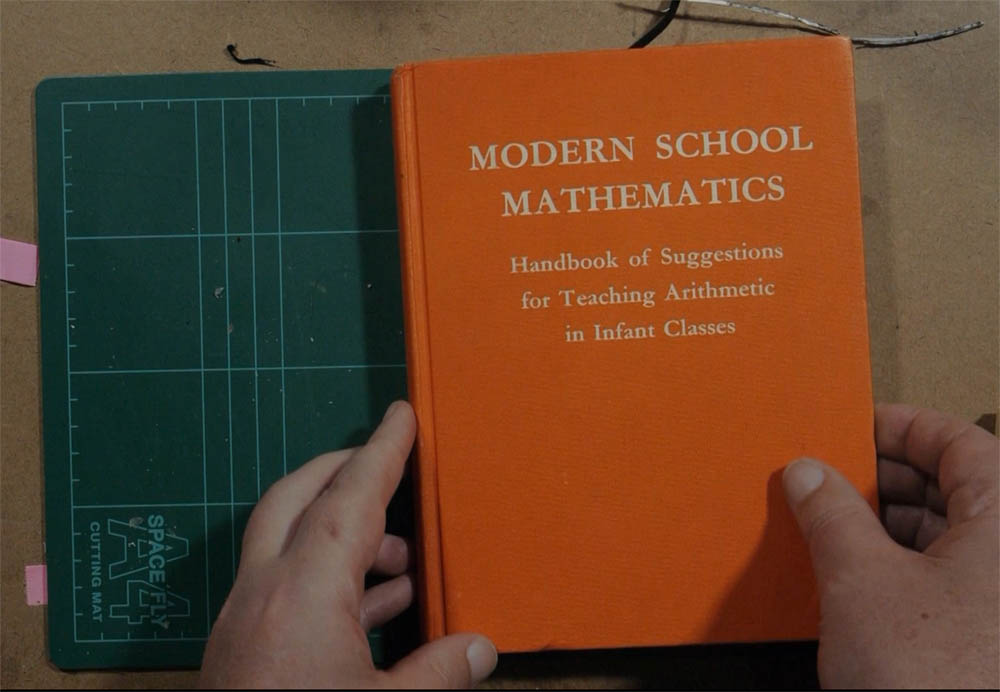
So we have a normal looking book (apart from it’s spectacular orangyness).

And even from the edge it looks ordinary (orange notwithstanding).

But flip to page 39 and you have a booksafe. And yes, I’ve been sitting on this writeup for over a year. I had other things to do… Like 2020.
Debrief:
What worked well? The bullet case tube drill is a handy trick for core drilling soft materials, and there were a few little enhancements I stumbled over which are useful, things like gluing the page down to hide the edge of the cavity.
What didn’t? Well, I didn’t get a perfectly vertical straight cut.
What would I do different? Well, I’d go straight to the oscillating saw for a start, it didn’t give a perfect finish, but neither did anything else frankly – If I’m going to do something shoddy it may as well be quick. It wasn’t bad, it just wasn’t perfect either.
Will I make another one? Not exactly like this, I mean, I really don’t have little things I feel the need to hide, but I will look at making more sculptural things in the future. Things like the book abacus and things like that rather appeal to me.
